Texture Atlasing using Houdini
Houdini really is the swiss-army knife of 3D asset pipelines. Recently a friend asked around on twitter:
I'd think in the year of ahh-lawwd two thousand and nineteen there would be a straightforward solution out there.... hey, take these half-dozen meshes and their associated maps and poop out UV-corrected meshes and a set of mongo-atlassed maps.
— Eric A Anderson (@edoublea) October 22, 2019
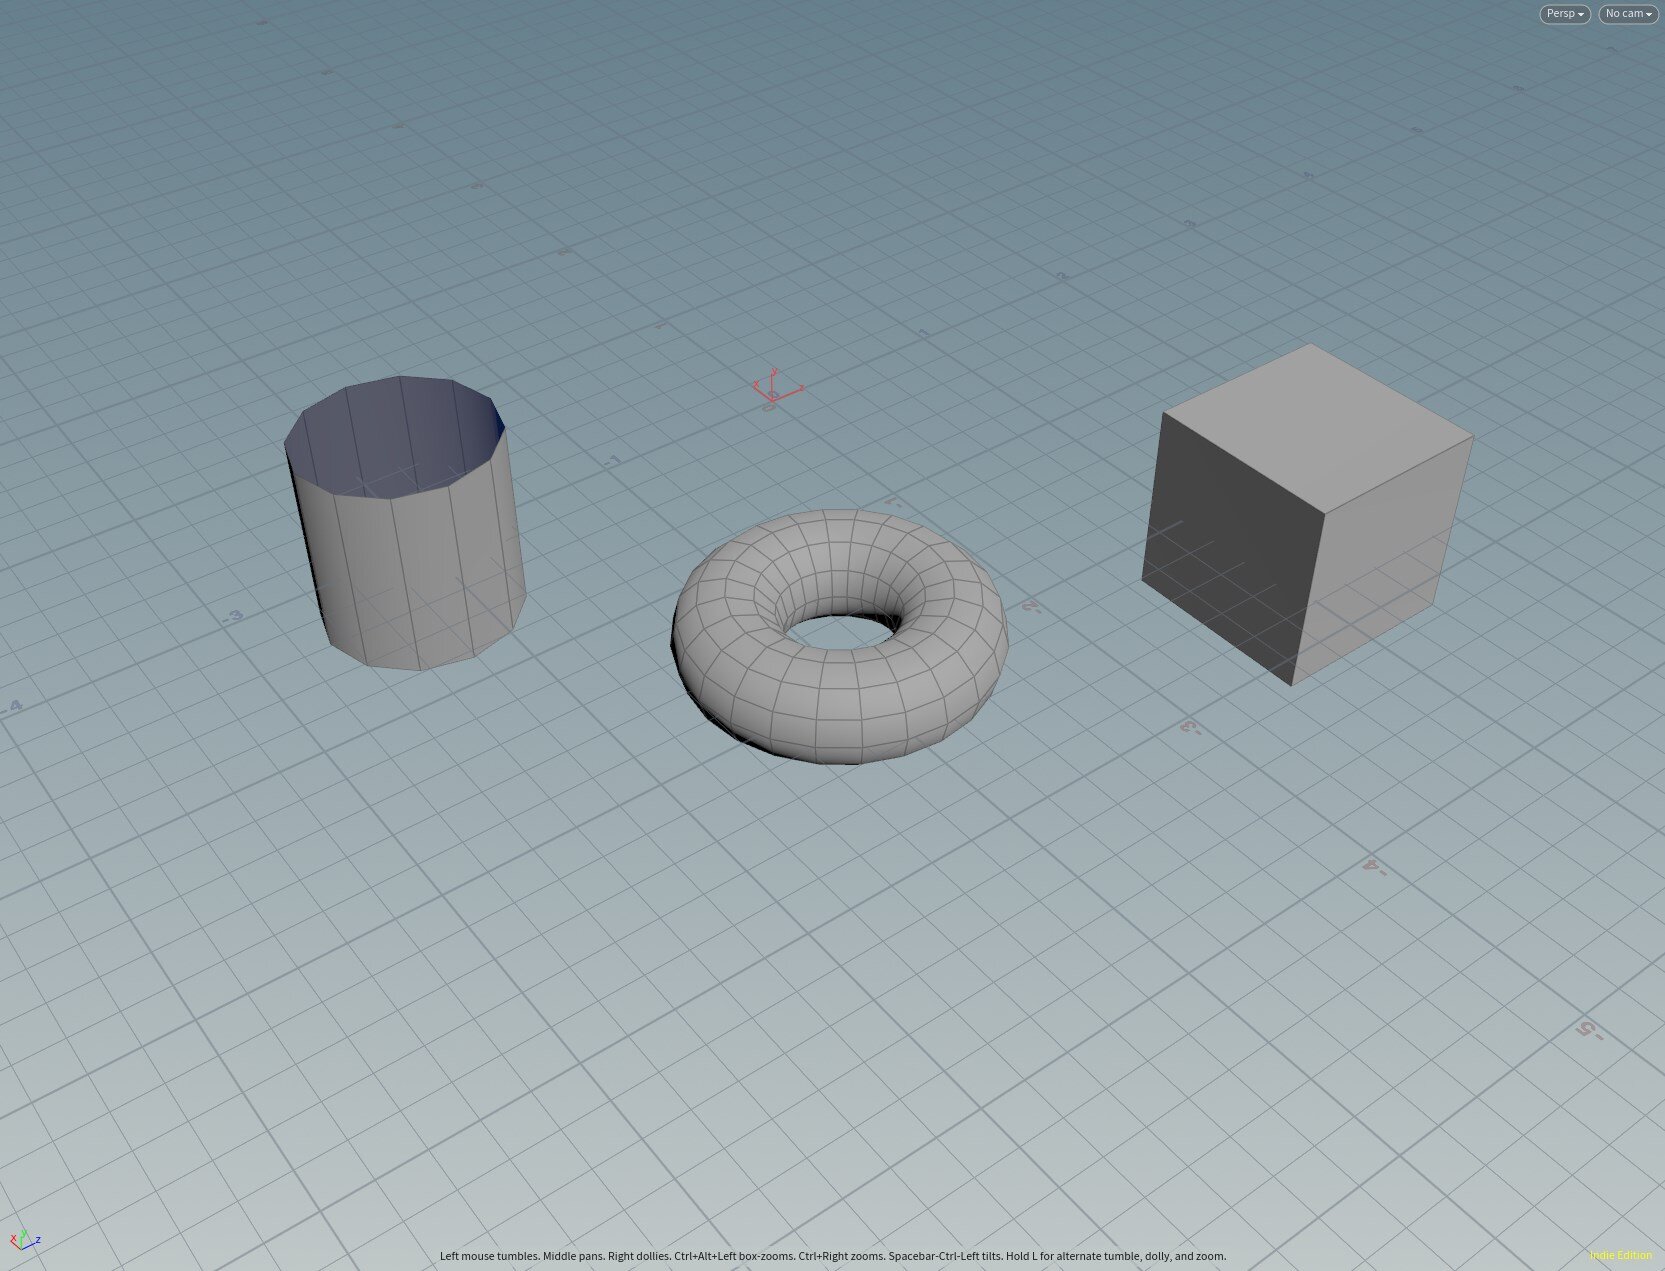
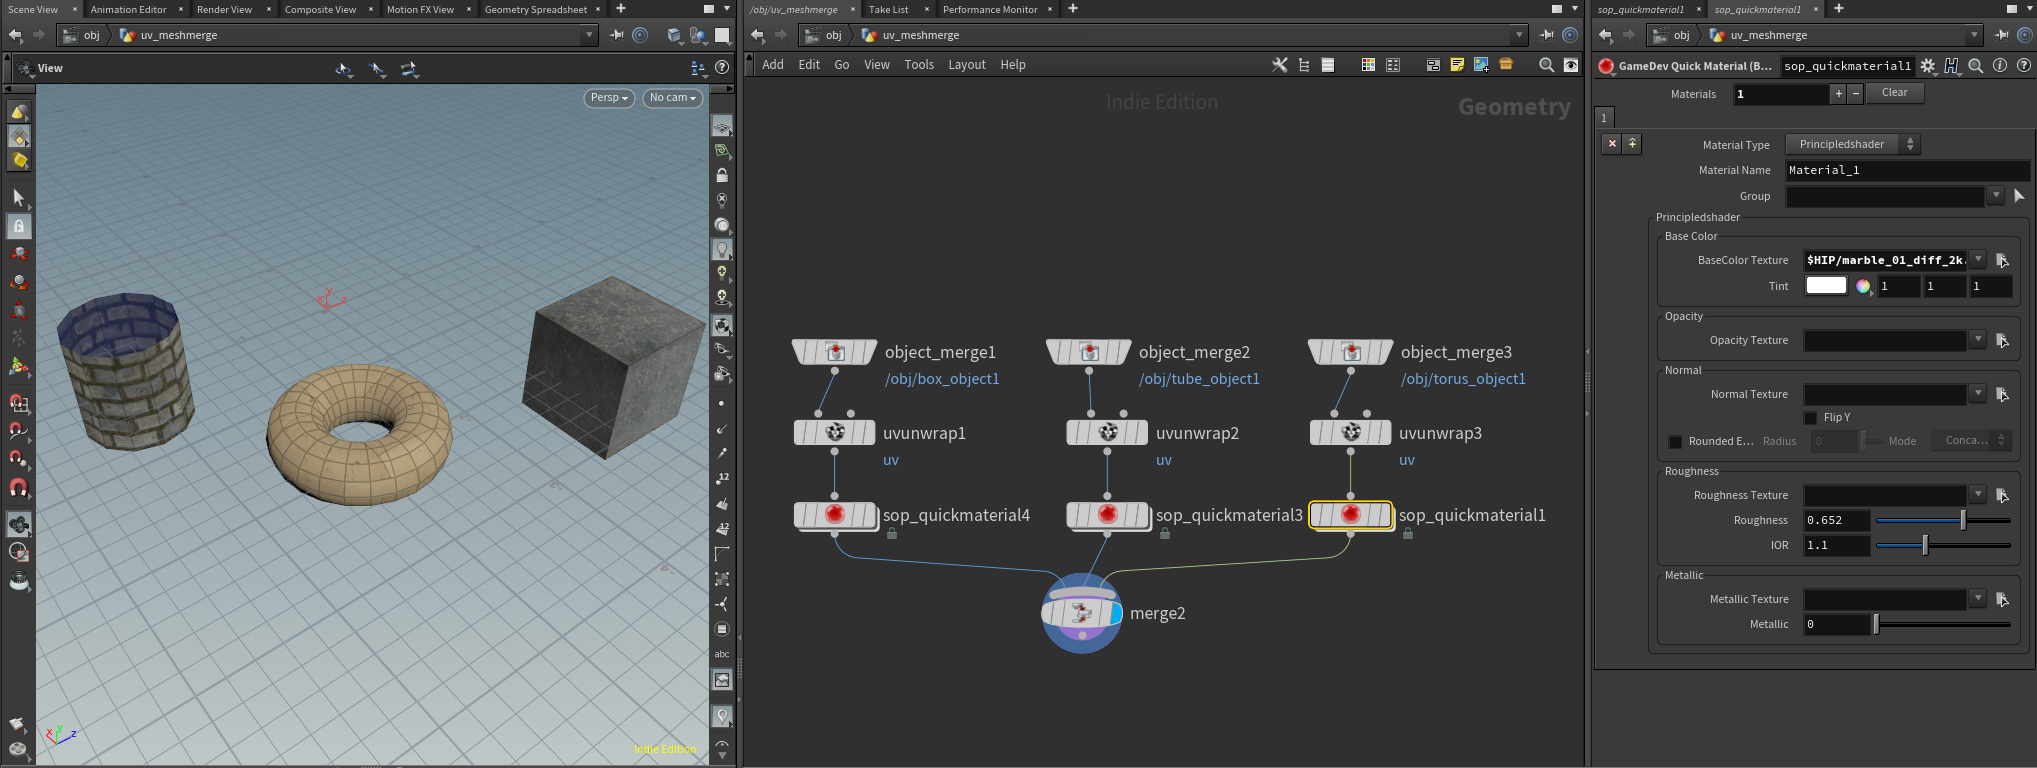
Houdini to the rescue! Let’s start with a few simple shapes. We’ll unwrap them individually in the simplest way possible, and then apply a simple texture to each:
Three object with 3 separate texture maps.
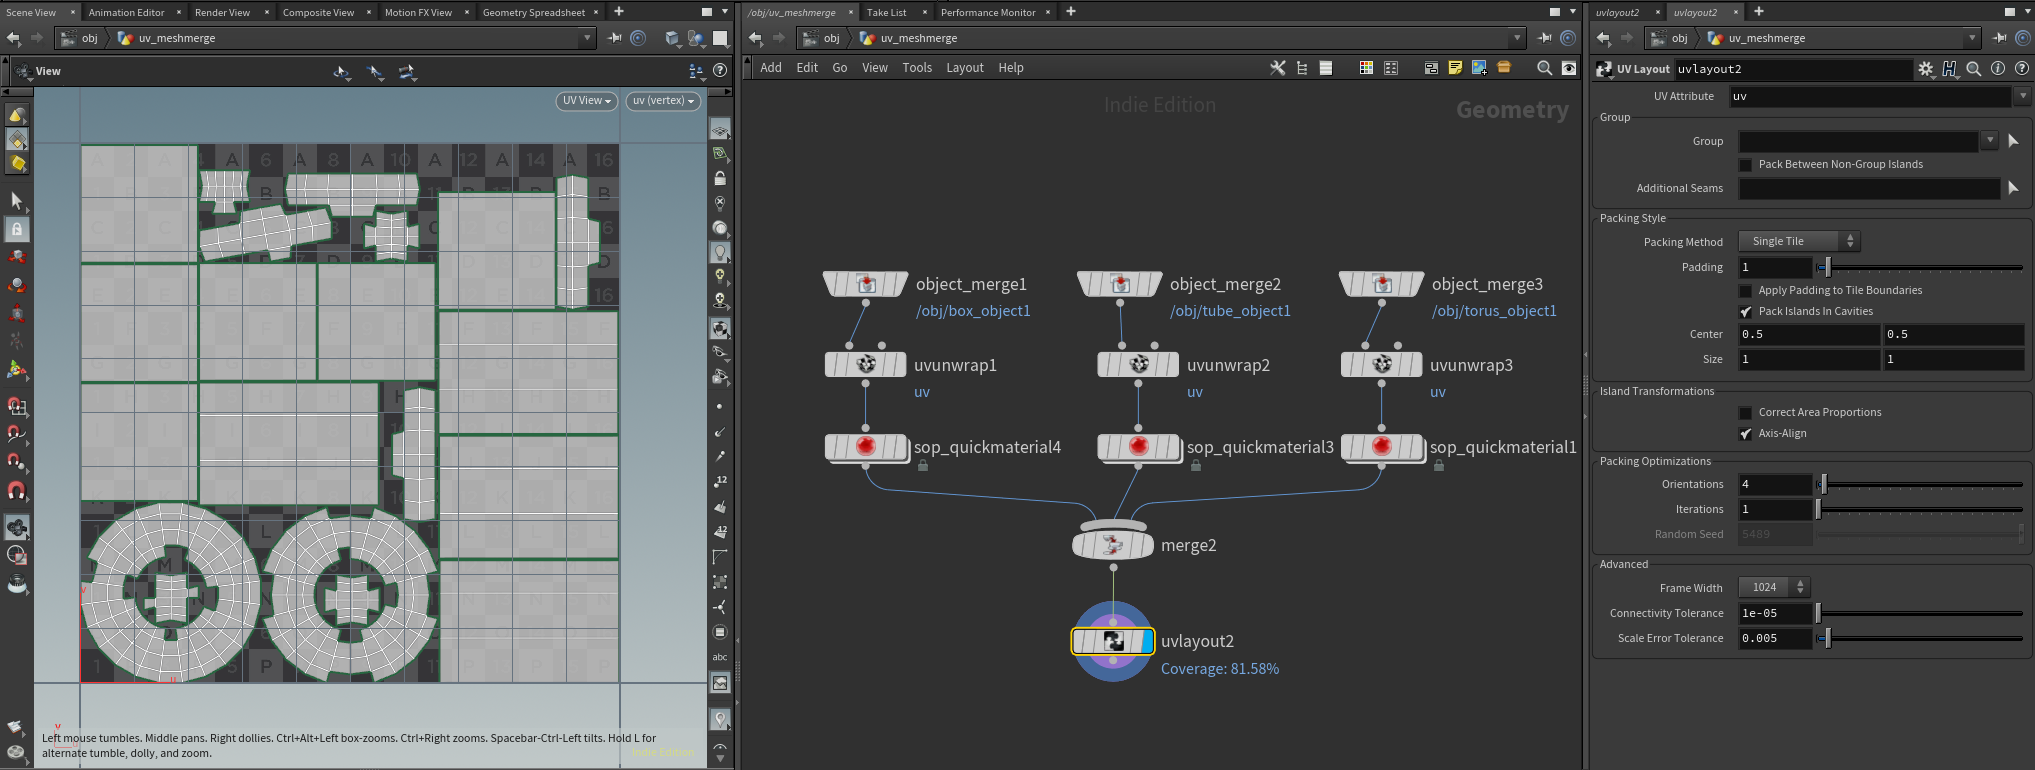
Now, we can have Houdini merge the individual UV sets into a single UV space with the UV-Layout node:
Now that the UVs are setup, we just need to transfer the original textures from the individual objects into a single packed texture in the new UV space. Luckily, there’s a simple node to do that in the Houdini Game Development Toolkit: GameDev Maps Baker. The Maps Baker takes a ‘High Resolution’ geometry and a ‘Low Resolution’ geometry, and transfers the textures from one to the other. In our case, the high resolution and low resolution geometries are exactly the same, except for the uv layout.
Note that the use of the Quick Material nodes for initial texturing of each object is crucial, as this allows us to specify the ‘diffuse’ channel in the baker and have it track down the correct texture information.
The other important setting is to choose “Nearest Surface” on the Tracing Mode option in the baker. Because our meshes are exactly the same, this transfers the texture perfectly, rather than casting rays to find the closest points.
The same three objects using a single texture map.
After pressing ‘bake’ in the node, we get the following texture output:
The new 2048x2048 texture atlas matching the unified UV sets.


